 I very often start by making a whole glass plate with the structure the [...]glass art is supposed to have.
I typically begin by using one of my nine different techniques for crazing, and continue to work with it.
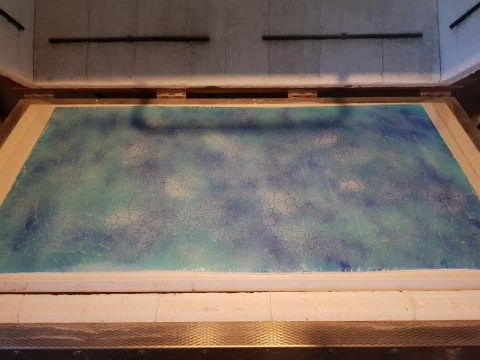
Above is a picture that shows an example of crazed base glass. It is still in the oven after the first burning.
It consists of base glass with shimmering blue colors and three millimeter transparent glass on top of it. All of it is crazed, which I achieved by using water during the burning among other things.Read more...↑ | 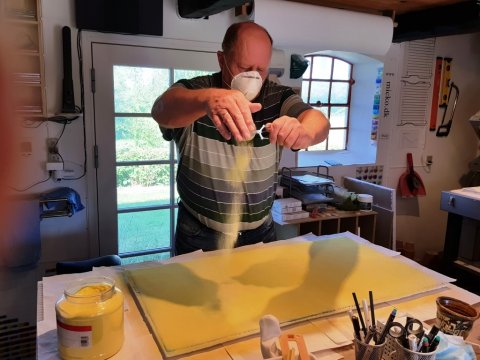 In the picture above, I am sprinkling powder in different colors on the base [...]glass. It will create a colorful web on top of the glass when it is finished.
Because there is 3 millimeter of transparent glass between the web and the shimmering base glass, it will create a 3D-effect. / The 3 millimeter of transparent glass between the web and the shimmering glass, will create a 3D-effect.Read more...↑ |
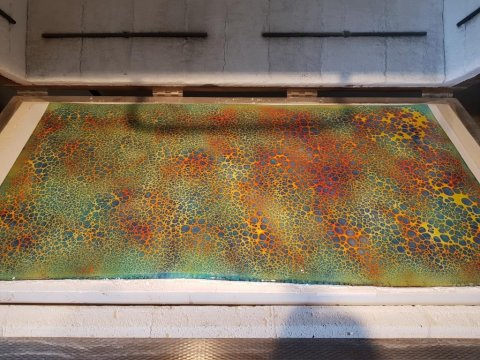 This picture shows the base glass after the web has been added during the [...]second burning.
Now the structure is finished, and the base glass is ready to be used to make the specific products.Read more...↑ | 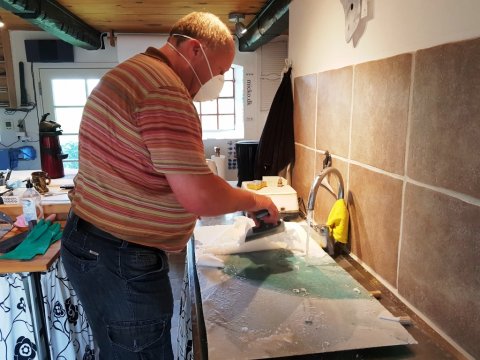 The glass has been burned on three millimeter ceramic felt that I have chosen [...]to use to separate the glass from the oven shelf, so it doesn?t melt together.
In the picture below, I am scraping off the felt. Even though I keep the felt wet it makes a lot of dust.Read more...↑ |
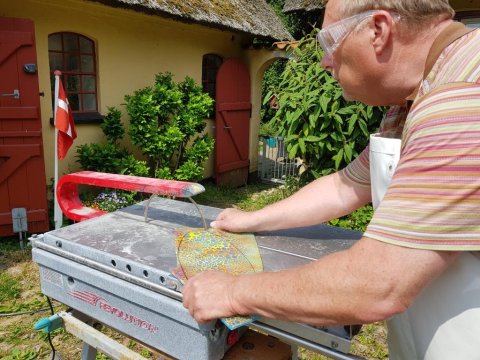 Thereafter, I saw through the base glass to make the specific shapes I need [...]in my further work.
The saw I am using is a big saw machine with a water-cooled diamond blade. It needs 20 liters of cold water before use.
The saw throws water and glass dust, so afterwards a shower is needed to wash away the splinters from the hair, arms and face.Read more...↑ | 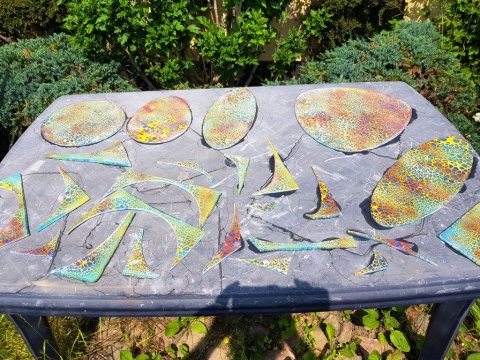 The ?dissected? base glass. At the top of the picture are the five pieces [...]of glass I am going to continue working with.Read more...↑ |
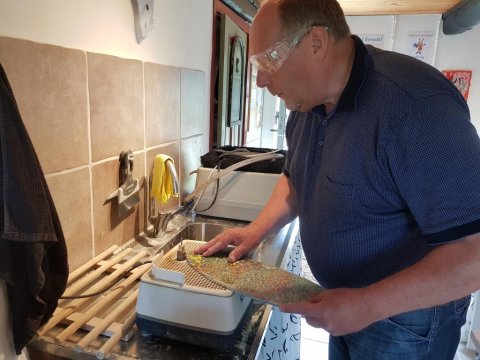 The edges of the glass pieces need to be grinded more precisely into shape. [...]I use a water-cooled diamond polisher to do so.Read more...↑ | 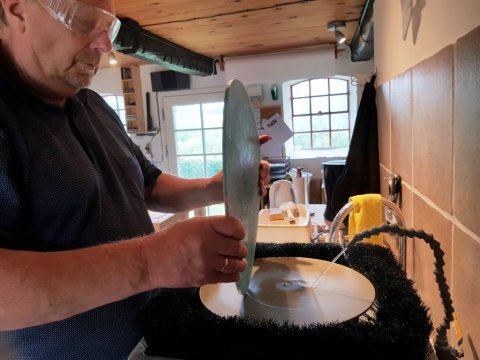 In this picture I grind the edges with a plane grinder. It is a [...]water-cooled polisher with large diamond blades, which I have in four different types.
The purpose of the plane grinder is actually to grind long straight edges, but I also use it for convex edges, it just takes more time.Read more...↑ |
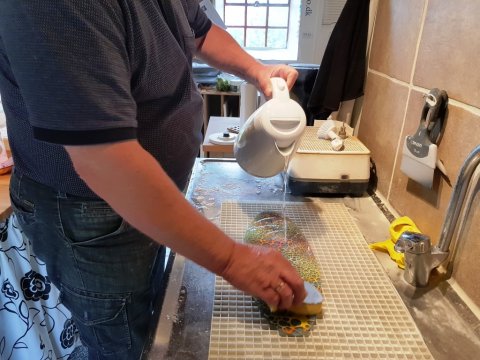 The glass needs to be cleaned thoroughly on both sides before each burning. I [...]use boiling water and special sponges to do so.
Every impurity needs to be gone. Even a fingerprint can be burned into the glass.
I use a microfiber tea towel to dry off the glass. They are efficient to dry off the damp and if there are any impurities left. Read more...↑ | 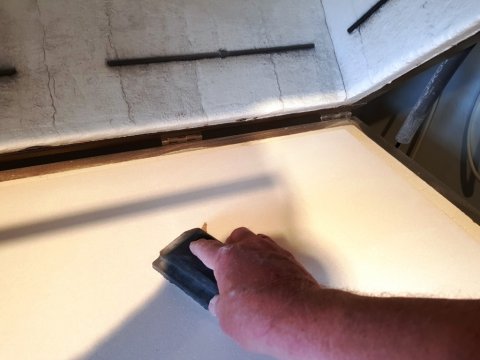 The oven shelf needs to be cleaned from old separator and if there are [...]fragment s of glass. I have a special polishing grid to do the work. It raises a lot of dust.
Thereafter, I put new separator on the oven shelf, so the glass doesn?t melt into it. Most people use a liquid form of separator, which is brushed on, but it takes approximately 24 hours for it to dry, and needs to be washed off after the burning, and then dry for 24 hours again.
Therefore, I use separator paper, even though it is more expensive. After the burning I can brush it off and grind the last remains off.
Sometimes ? as in this example?s first and second burning ? I use ceramic felt as a separator, in case of very high temperatures.Read more...↑ |
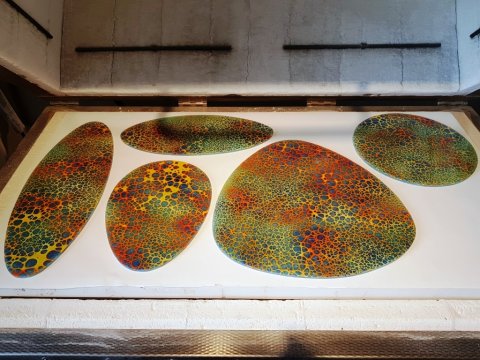 I burn the glass again after grinding it, to achieve nice soft edges. That [...]is the third burning.
These three burnings where the glass for example melts together, creates structure or where the edges have been rounded off, is called fusing.
Each burning typically lasts between 24 and 48 hours. The cool down is what takes the most time. If the cool down happens too quickly it creates tension in the glass, which can make the glass break later on.
In this particular burning I have used separator paper on the oven shelf. It looks like ordinary paper, but is really a kind of very very thin ceramic. And is quite expensive.Read more...↑ | 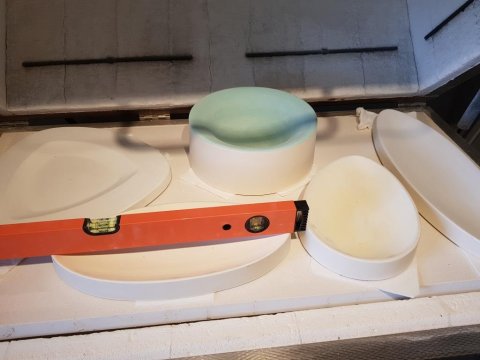 It is now time for shaping the glass ? here in ceramic forms. The forms [...]contain small holes at the bottom in order to the air to escape as the glass melts into the form.
The forms are rubbed with separator. The blue form has on new separator, whereas the other forms have been into the oven before rubbed in separator. Opposed to the oven shelf, the forms don?t need new separator as often, as this burning is with lower temperatures.
I put small pieces of ceramic felt under the forms. Partly to make sure that the forms are level and partly to make sure extra air can escape.Read more...↑ |
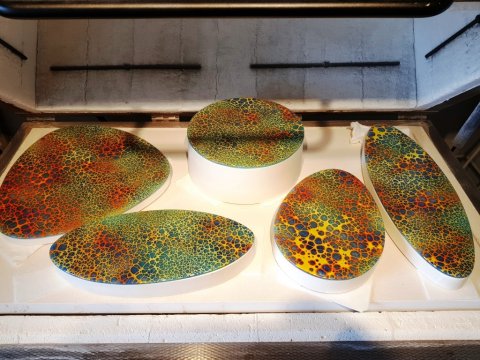 In this picture, the glass is on the forms and is ready for the [...]burning.
Until the last burning, where the glass is being shaped, I work with the glass as a flat material.Read more...↑ | 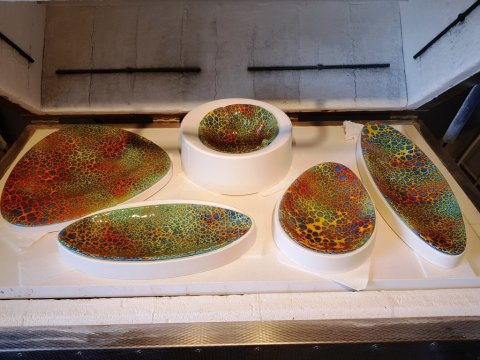 Finally, the glass has been shaped. This was the fourth and last burning. This [...]burning, where the glass is being shaped, is called slumping.
The round bowl in the middle of the picture has sunken rather into the form. It is difficult to shape glass into deep forms. Read more...↑ |
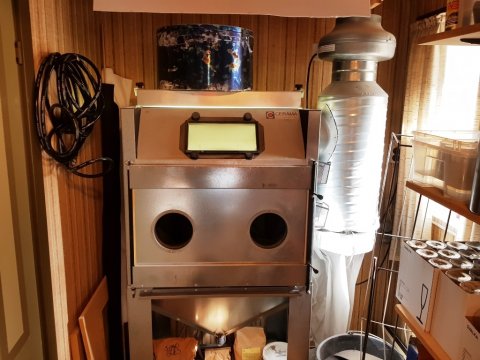 As this form of crazing can make the backside rough, there might be some [...]ceramic felt ? or another form of separator ? stuck to the backside, which leaves a tinge of white. Therefore, I sandblast the backsides, when they are rough.
I have a special cabinet for sandblasting, where I can put my hands into the two build into rubbergloves.
The sandblaster fires sand out of an air-powered pressure gun at high velocity. I use quartz sand added silicon carbide. I have a 400 volt compressor attached that can grant up to 10 bars.Read more...↑ | 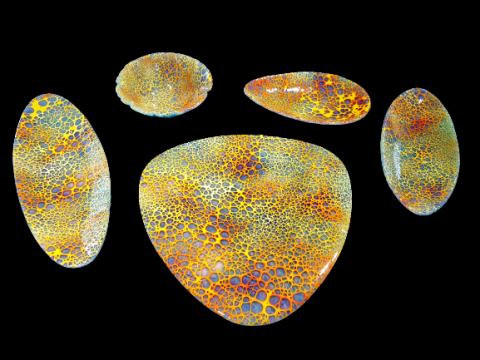 Lastly, the new glass bowls and plates are ready to be exhibited. I call [...]this series of glass ?Waves and Sea Foam at Sunset?. Read more...↑ |
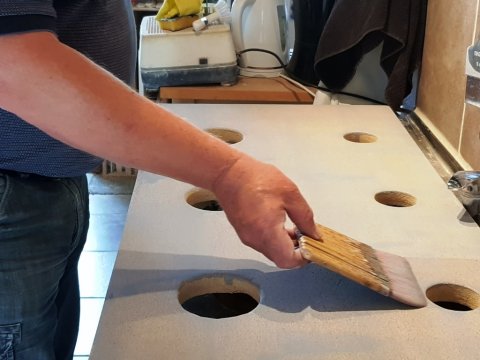 In this picture, I am pouring liquid separator on a special oven shelf for [...]a new production.
This oven shelf is made of Vermiculite, which is easy to process. I have made 6 holes in the shelf. It can be used to create bowls or vases.
I create the separator myself by using separator powder and water. I apply the separator with a special brush ? a Haik brush. It has soft hair. It is important that there isn?t any metal on the brush, because it affects the separator.Read more...↑ | |